Painting over damp & mould.
How to tell harmless condensation mould from serious damp, kill it safely, and get a finish that lasts — plus the one mistake that guarantees it all comes back.
Jump to a section
“Can I just paint over it?” is the question we get asked most about damp and mould — and the honest answer is: sometimes, and only if you do it in the right order. Painting straight over a damp or mouldy wall is one of the most common DIY mistakes in UK homes. It looks fixed for a few weeks, then the mould grows back through the fresh paint, the stain bleeds through, and you’re back to square one — often with a bigger problem than you started with. This guide explains how a professional decorator approaches it: how to tell what kind of problem you actually have, how to treat the genuinely paintable kind properly, and how to spot the serious damp that needs fixing before a brush goes anywhere near it.
Damp vs mould — what you're actually dealing with
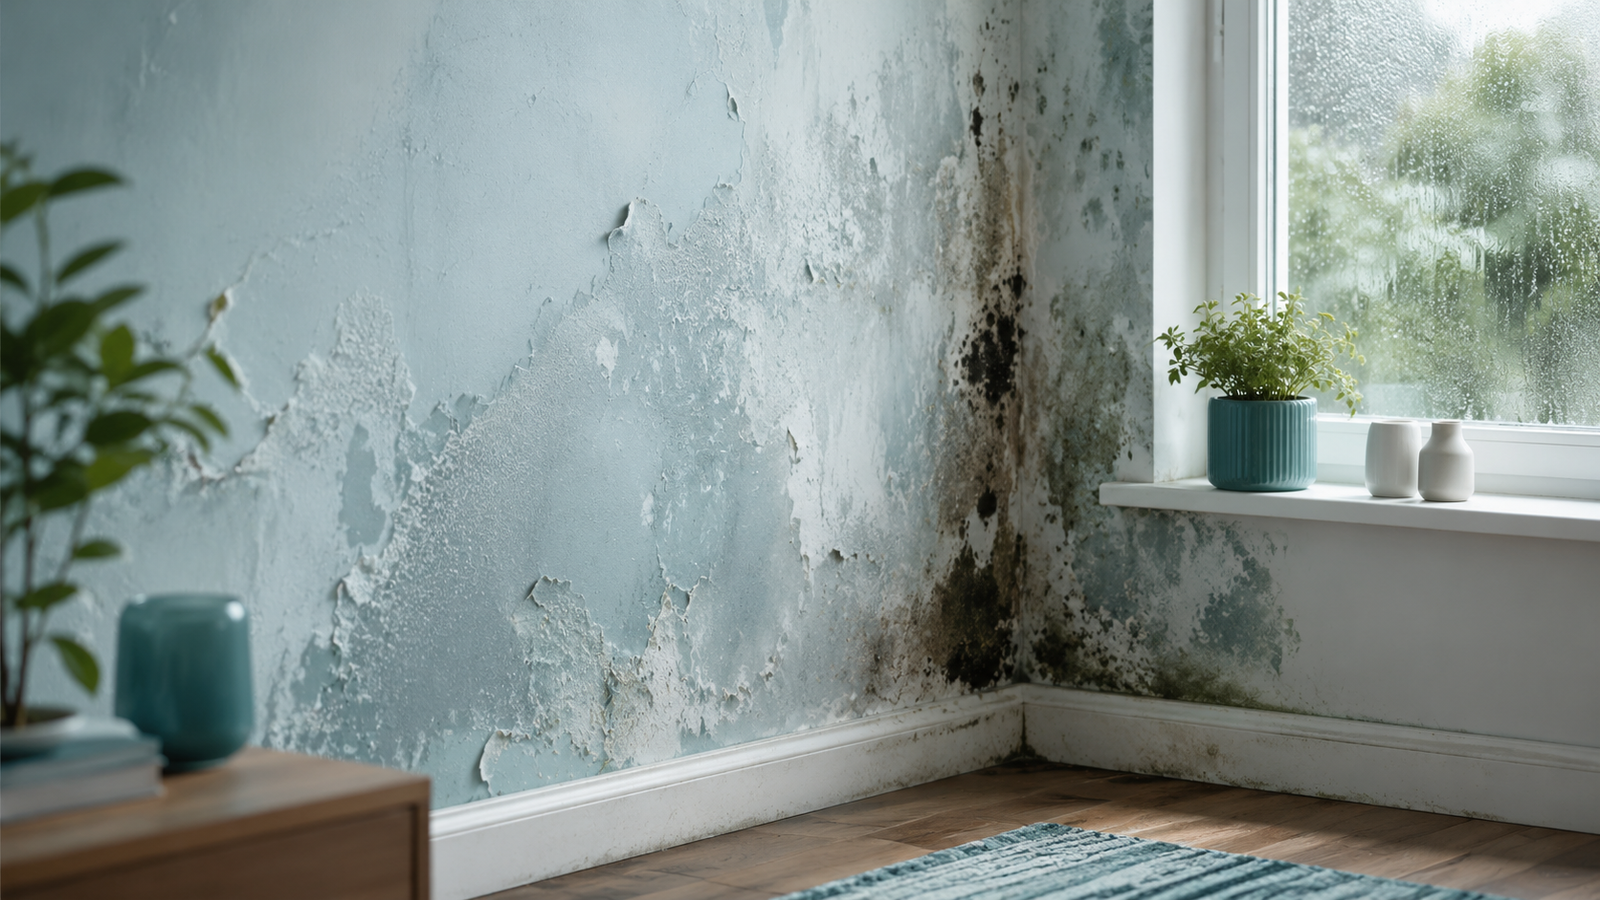
Damp and mould are linked but not the same thing. Damp is excess moisture in the wall. Mould is the black, green or grey growth that appears when a surface stays wet long enough. Kill the mould but leave the moisture, and it comes straight back. So the first job is always to work out why the wall is wet. There are four common causes in UK homes, and they could not be more different to deal with:
- Condensation mould (by far the most common). Black spotty mould in bathroom corners, on cold window reveals, behind wardrobes on external walls, in north-facing rooms. Caused by warm, humid indoor air meeting a cold surface — not by water getting into the wall. This is the one you can treat and paint over, once you improve ventilation.
- Penetrating damp. Water getting in from outside — a leaking gutter, cracked render, failed pointing, a roof or window leak. Shows as a damp patch that gets worse after rain. The wall must be made watertight first.
- Rising damp. Ground moisture rising up the wall where the damp-proof course has failed or been bridged. Shows as a “tide mark” up to around a metre from the floor, sometimes with white salt deposits. Needs specialist diagnosis — never just paint.
- Leaks (plumbing). A localised wet patch near a pipe, radiator, bathroom or kitchen. Fix the leak, dry the wall, then decorate.
Pro tip: the quickest home test — does the mark get noticeably worse after heavy rain? That points to penetrating damp. Is there a tide-mark with salts low down the wall? That points to rising damp. Is it black spotty mould in corners and on cold spots, worse in winter? That’s almost always condensation — the paintable kind.
Quick diagnosis table
Use this to work out which problem you have and whether it’s safe to paint once treated:
| What you see | Likely cause | Can you paint over it? |
|---|---|---|
| Black spotty mould in corners, on window reveals, behind furniture | Condensation | Yes — after treating & improving ventilation |
| Damp patch that worsens after rain | Penetrating damp | No — fix the leak outside first |
| Tide-mark / salts up to ~1m from floor | Rising damp | No — needs specialist diagnosis |
| Wet patch near a pipe, radiator or bathroom | Plumbing leak | No — fix leak, dry fully, then paint |
| Brown/yellow water staining bleeding through paint | Past or present leak | Only once dry — and after stain-blocking |
| Blistering, bubbling or peeling paint | Trapped moisture | No — find the source first |
Why painting over damp always fails
It’s tempting to grab a tin and cover the problem — especially before viewings, a tenancy change or guests. But paint is a finish, not a cure. Cover live damp or mould and three things happen:
- The mould grows back through the paint. Mould spores feed on moisture and survive under a paint film. Within weeks the black spots push back through, often worse than before because the new paint traps moisture against them.
- The stain bleeds through. Mould and water staining are water-soluble. Standard emulsion is water-based, so the stain dissolves into it and reappears as a brown or grey shadow — even through two or three coats.
- The paint film fails. Trapped moisture has nowhere to go. It pushes the paint off the wall as blisters, bubbles and peeling sheets. On solid walls, sealing them with the wrong paint can make the damp spread sideways and upwards.
The fix is always the same principle: deal with the moisture, treat the surface, then decorate. For the most common case — condensation mould — here’s exactly how.
How to treat & paint condensation mould — step by step
This is the genuinely paintable case: black spotty mould caused by humidity and cold surfaces, with a dry wall underneath. Here’s how a professional decorator runs it.
- Confirm it’s condensation. Dry wall, black spotty mould on cold spots and in poorly ventilated corners, worse in winter. If it’s a wet patch, a tide-mark or worsens after rain, stop — see the next section.
- Protect yourself and the room. Open a window. Wear gloves, goggles and a mask (mould spores irritate airways). Lay dust sheets. Never dry-brush or sand mould — it throws spores into the air. Keep it damp while you work.
- Kill the mould with a fungicidal wash. Apply a dedicated mould killer (not neat bleach), leave it the full dwell time on the label, then wipe away with a cloth. Repeat on stubborn patches. Bin the cloths — don’t reuse them.
- Fix the cause — this is the step everyone skips. Improve ventilation: use the extractor fan in bathrooms and kitchens, crack windows when showering or cooking, keep furniture a few centimetres off external walls, and address cold spots if you can. Without this, the mould returns no matter how good the paint is.
- Let the surface dry completely. Give the treated area at least 24–48 hours to dry, longer in a cold room. The wall must be bone dry before paint.
- Block any staining. If there’s lingering mould shadow or water staining, seal it with an oil- or shellac-based stain blocker (Zinsser B-I-N or Cover Stain). Water-based emulsion alone will let the stain bleed straight back through.
- Paint with an anti-mould / fungicidal paint. Two coats of a mould-resistant emulsion (see picks below). For ceilings and walls in bathrooms, a moisture-resistant or anti-condensation paint is worth the extra few pounds.
- Keep the room ventilated afterwards. Anti-mould paint resists regrowth, but ventilation is what keeps it gone for good.
Pro tip: if mould keeps coming back in the same bathroom or bedroom corner every winter, the answer is rarely more paint — it’s ventilation and heat. An extractor fan that actually runs, trickle vents left open, and not drying washing on radiators in that room will do more than any tin of paint.
Best products and paints (UK 2026)
What we reach for on mould and damp-prone jobs:
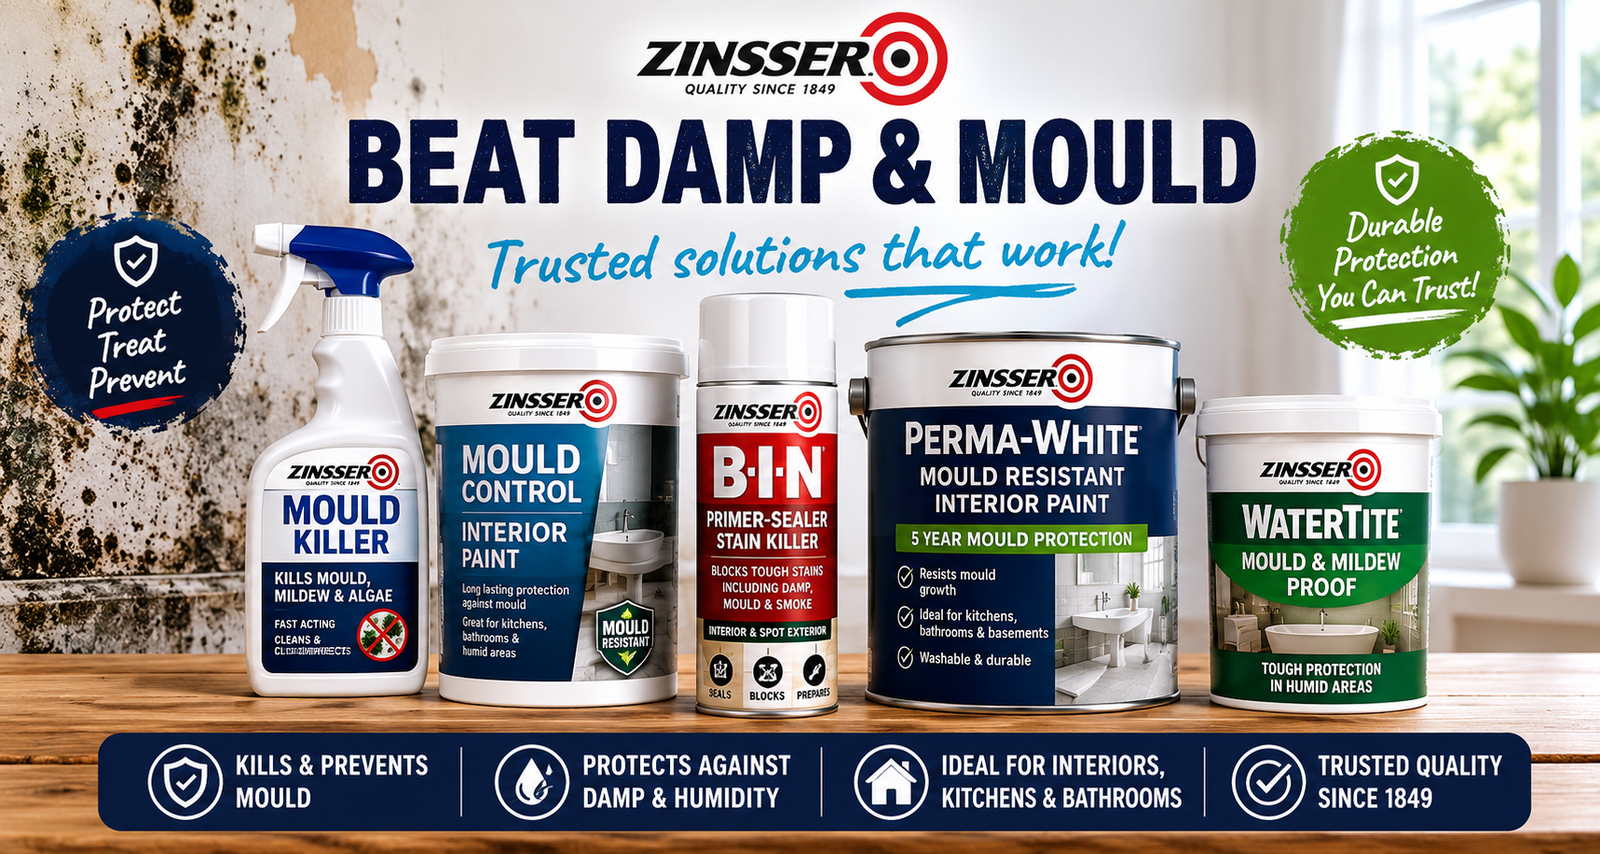
- Fungicidal wash (to kill mould): Zinsser Mould Killer, HG Mould Spray, or a trade fungicidal solution. Designed to kill spores and leave a paint-ready surface — unlike household bleach, which only removes the colour.
- Stain blocker (to stop bleed-through): Zinsser B-I-N (shellac, best for stubborn mould and water stains) or Zinsser Cover Stain (oil-based). One coat seals the stain so your topcoat stays clean.
- Anti-mould topcoat: Zinsser Perma-White (self-priming, mould-resistant for years), Dulux Trade Mould & Mildew Resistant Matt, or Ronseal Anti-Mould Paint. Use in bathrooms, kitchens and cold north-facing rooms.
- Anti-condensation paint: versions with an insulating additive (e.g. Ronseal Anti-Condensation) raise the surface temperature slightly so moisture is less likely to condense in the first place. Useful on cold ceilings and external-wall corners.
- Breathable paint (older / solid-wall homes): lime-based paints or a clay paint like Earthborn Claypaint. These let a solid wall release moisture instead of trapping it — important in period properties where a plastic emulsion can cause more harm than good.
Rising, penetrating & structural damp — fix first, paint later
If your problem is anything other than surface condensation, no paint will solve it — and painting over it can mask a worsening problem until it becomes expensive. Here’s when to stop and get the cause dealt with:
- Penetrating damp. A patch that worsens after rain means water is getting in from outside. Common causes: blocked or leaking gutters, cracked render, failed pointing, a slipped roof tile, or a leaking window seal. The outside defect must be repaired and the wall dried before any decoration.
- Rising damp. A tide-mark up to about a metre from the floor, sometimes with white salts and flaking plaster, suggests a failed or bridged damp-proof course. This needs specialist diagnosis — and often re-plastering with a salt-resistant render — before painting.
- Plumbing leaks. A localised wet patch near a pipe, radiator or bathroom. Fix the leak, let the wall dry fully (weeks, not days), then stain-block and paint.
- Drying times matter. A wall affected by rising or penetrating damp can take around a month per 25mm of thickness to dry once the source is fixed. A moisture meter is the only reliable check — the surface lies.
This is where it pays to get an honest opinion before spending on paint. Our plastering service covers re-skimming and salt-resistant render after damp repairs, and our interior painting service picks up the decoration once the wall is genuinely ready — so you’re not paying to paint the same wall twice.
Common mistakes that bring the mould straight back
We get called to fix these every week. Avoid them and the job lasts.
- Painting over live mould or a wet wall. The number-one mistake. It always grows or peels back through.
- Bleaching and painting straight over. Bleach removes the colour but not always the roots, and leaves a poor surface for paint. Use a fungicidal wash and let it dry.
- Using standard emulsion over staining. Water-based paint dissolves mould and water stains — they bleed straight back. Stain-block first.
- Ignoring ventilation. Treat the wall but keep drying washing in the room with the window shut, and the mould returns within weeks.
- Sealing a solid wall with plastic emulsion. In older homes, a non-breathable paint traps moisture and can push the damp elsewhere. Use a breathable system.
- Dry-scraping or sanding mould. Spreads spores around the room and into the air you’re breathing. Keep it damp and wipe.
- Painting before the wall is dry. After a leak or damp repair, the surface dries long before the core does. Rushing it guarantees failure.
When to call a pro
A small patch of condensation mould in a bathroom corner is a sensible DIY job with the steps above. Where a professional earns their money:
- Mould that keeps coming back. Recurring growth usually means an unresolved moisture or ventilation problem that needs diagnosing properly, not re-painting.
- Any sign of rising or penetrating damp. Tide-marks, salts, patches that worsen after rain. These need the cause found and fixed before decoration — we’ll tell you honestly what we find.
- Large areas or whole rooms. Treating, stain-blocking and re-painting a whole room properly (and safely, with the right protection) is a bigger job than it looks.
- Period and solid-wall homes. These need breathable paint systems, not standard emulsion — getting this wrong makes damp worse.
- Health concerns. Extensive black mould around children, older people or anyone with asthma or allergies should be handled carefully — cause and surface both.
See our interior painting service for room-by-room work, our plastering service for re-skimming after damp repairs, or read our guides on painting freshly plastered walls and prepping your home before painters arrive.
FAQ
Can you just paint over mould?
Only after you’ve killed it and fixed the cause. Painting straight over live mould hides it for a few weeks, then it grows back through the new paint and the stain bleeds through. Treat with a fungicidal wash, let it dry, improve ventilation, stain-block any marks, then finish with an anti-mould paint.
Can you paint over damp walls?
Not over active damp. A wall that’s genuinely wet from rising or penetrating damp will blister and peel, and the damp reappears. Find and fix the source — failed damp-proof course, leaking gutter, cracked render, plumbing leak — and let the wall dry fully before decorating.
Should I use bleach on mould before painting?
No — household bleach removes the colour but often leaves the roots alive and doesn’t prepare the surface. Use a dedicated fungicidal wash (Zinsser Mould Killer, HG Mould Spray, or a trade solution), with gloves, goggles, a mask and good ventilation.
Does anti-mould paint actually work?
Yes, as part of the full process. Anti-mould paints contain fungicides that resist regrowth, and anti-condensation versions add an insulating layer that keeps the surface warmer. They stop mould returning — but they can’t fix a wall that’s still getting wet. Treat the mould, fix the moisture, then paint.
Why does mould keep coming back after I paint?
Because the cause was never fixed. Mould is a symptom of moisture. If you don’t improve ventilation, fix a leak or address a cold spot, the moisture is still there and the mould grows straight back — often within weeks.
What paint is best for a damp or mould-prone room?
For bathrooms, kitchens and north-facing rooms, use a fungicidal anti-mould paint such as Zinsser Perma-White or Dulux Trade Mould & Mildew Resistant. For older solid-wall homes, a breathable lime or clay paint lets the wall release moisture. Always stain-block water or mould marks first.
How long should a damp wall dry before painting?
Once the source is fixed, allow several weeks — walls affected by rising or penetrating damp can take around a month per 25mm of thickness. Don’t trust the surface; a moisture meter reading is the only reliable confirmation.
Is black mould on walls dangerous?
It can affect breathing, allergies and asthma, especially for children, older people and anyone with a respiratory condition. Small patches of condensation mould can be treated safely with a fungicidal wash and protection. Large or recurring areas should be assessed professionally.